
Creating and managing content on your WordPress website is a straightforward process once you know the steps. Whether you’re new to WordPress or need a refresher, this guide will walk you through how to upload a new blog post in WordPress.
Step 1: Logging In to WordPress
- Open Your Web Browser: Launch your preferred web browser (e.g., Chrome, Firefox, Safari).
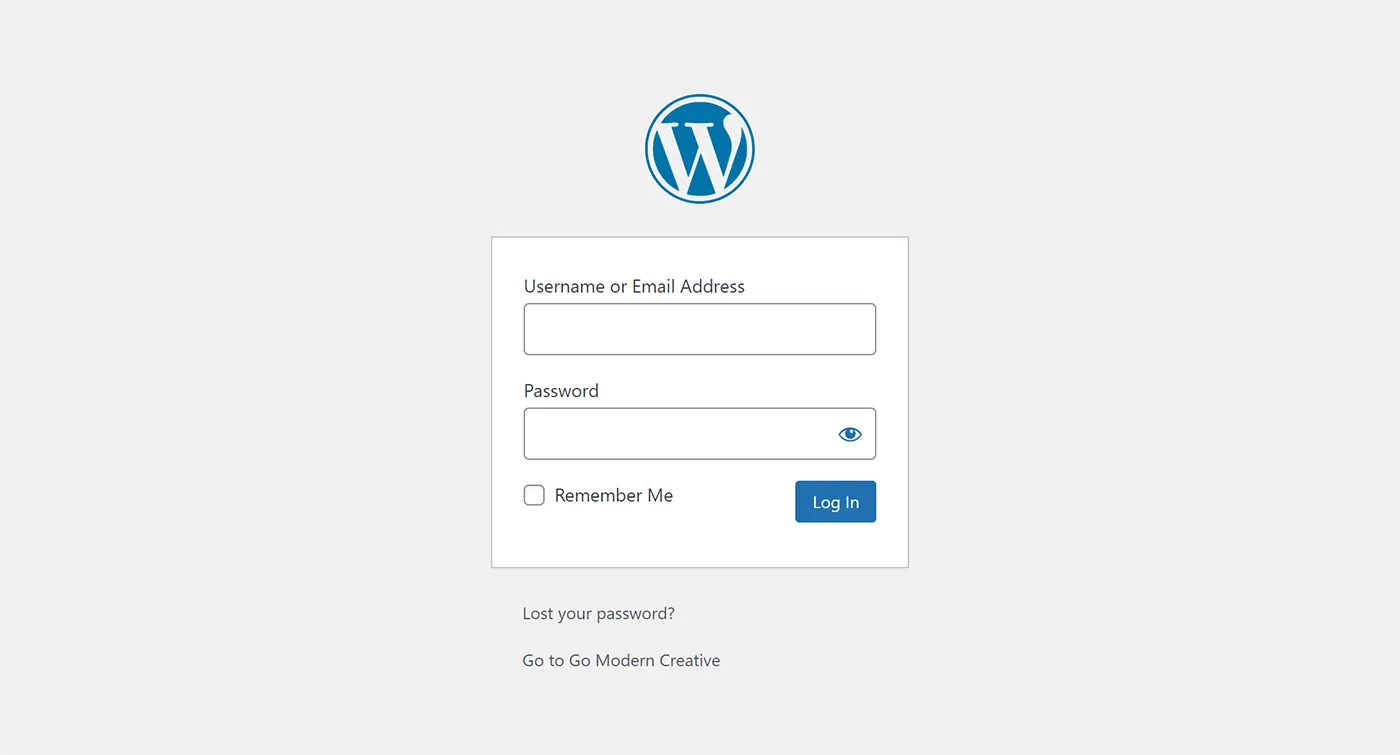
- Navigate to Your WordPress Login Page: Type your website’s URL followed by
/wp-adminin the address bar. For example, if your website iswww.example.com, typewww.example.com/wp-admin. - Enter Your Username and Password: This is typically the username and password you set when you created your WordPress account.
- Click ‘Log In’: Once you’ve entered your credentials, click the ‘Log In’ button to access your WordPress dashboard.
- Two-Factor Authentication (if enabled): If you have two-factor authentication enabled, you will need to enter the code sent to your mobile device or email.
Step 2: Creating a New Blog Post in WordPress
After logging in, you’ll be redirected to the WordPress dashboard, the control centre for managing your site.
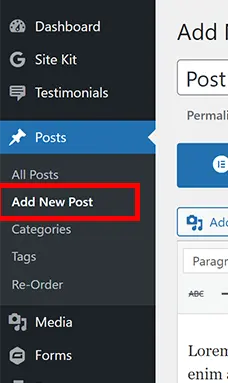
- Navigate to the Posts Section: On the left-hand side of the dashboard, you’ll see a menu. Hover over or click on ‘Posts’ to expand the menu.
- Add New Blog Post in WordPress: Click on ‘Add New’. This will take you to the WordPress post editor.
Step 3: Writing your Post
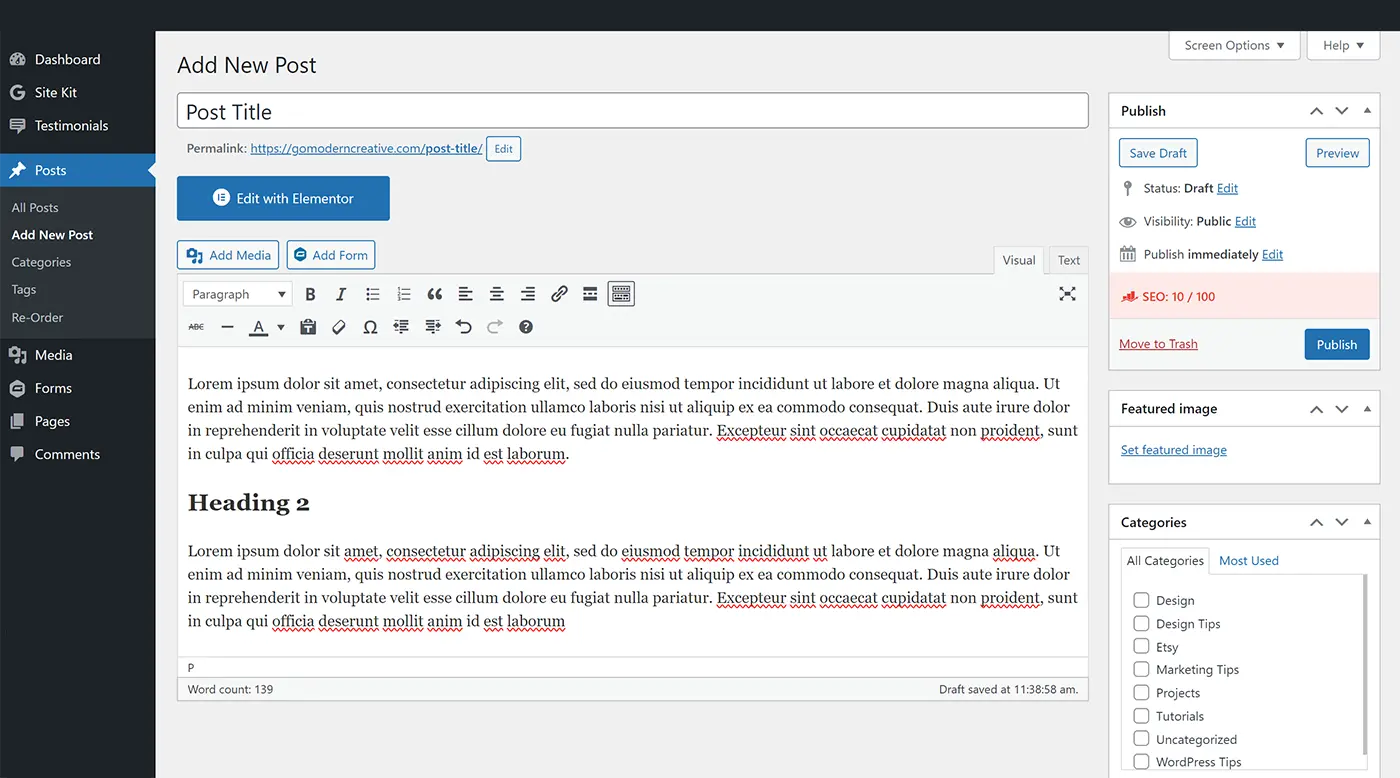
- Add a Title: At the top of the page, you’ll see a field that says ‘Add title’. Enter the title of your post here. This will be the headline that appears on your blog.
- Compose Your Content:
- Content Area: Below the title field is the main text area where you can write your post. Note: When copying and pasting content from outside of WordPress, make sure you right-click on your mouse and ‘Paste as plain text‘. This will remove any coding that may affect the look of the post.
- Formatting: Use the toolbar at the top of the text block to format your text (e.g., bold, italic, headings, etc.).
Step 4: Adding Media or a Gallery to a WordPress Post
To add an image to your post, place your cursor where you would like the image to appear and click the Add Media button above the editor.

Media Library
After clicking Add Media, the Media Library will open. Here you can:
- Select an image that has already been uploaded.
- Drag and drop new image files into the window.
- Click Upload Files to browse your computer and select images.
Once your images have finished uploading, click on the one you want to use.
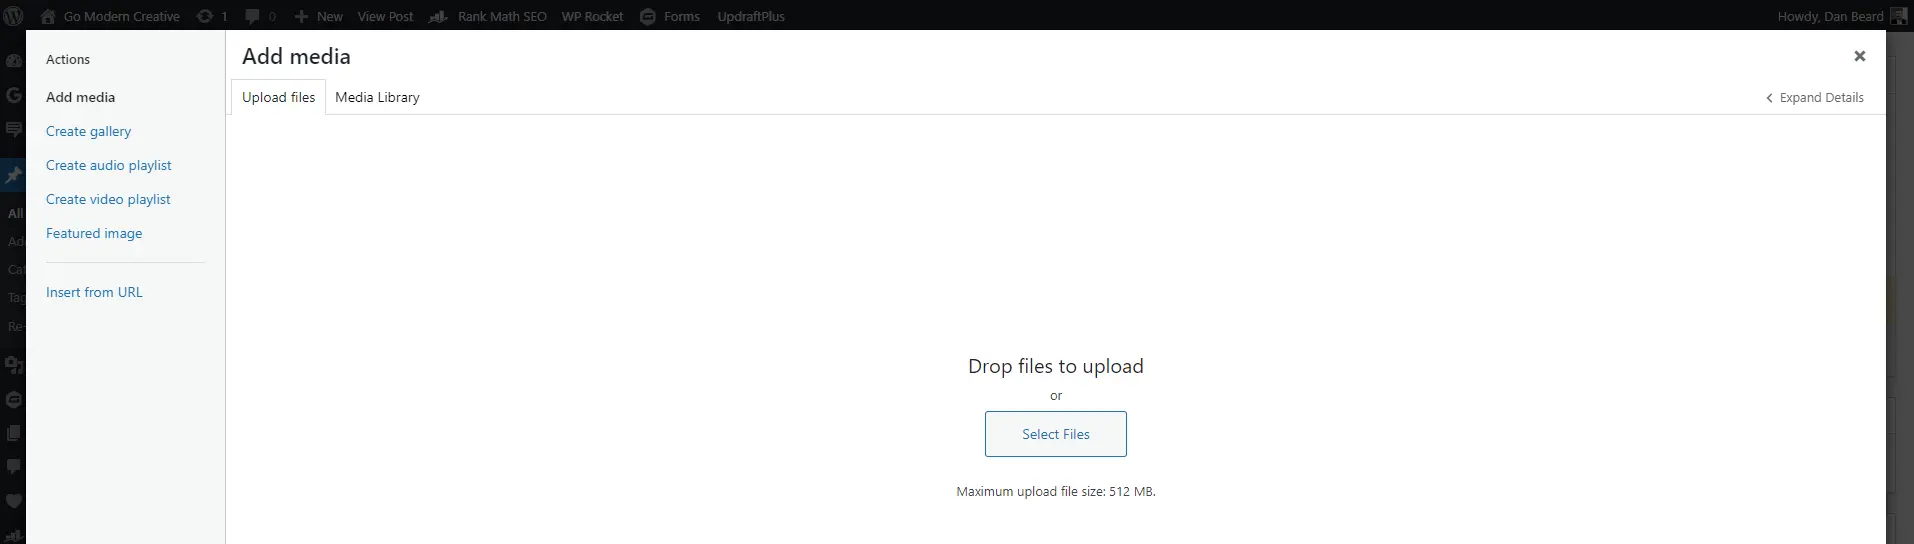
Image Details
With an image selected, you can customise how it appears in your post by choosing:
- Alt Text – Add a short description of the image to improve accessibility and SEO.
- Caption – Display text directly beneath the image (optional).
- Alignment – Choose Left, Centre, Right, or None.
- Size – Select Thumbnail, Medium, Large, or Full Size depending on how large you’d like the image to appear.
When you’re happy with the settings, click Insert into Post.
Creating an Image Gallery
To display multiple images together, click Add Media and then select Create Gallery from the left-hand menu.
- Select all of the images you want to include in the gallery.
- Click Create a New Gallery.
- Rearrange the images by dragging them into your preferred order.
- Choose the number of columns and whether you’d like the images to link to the media file or attachment page.
- Click Insert Gallery to add it to your post.
You can edit the gallery at any time by clicking on it within the editor and selecting the Edit Gallery icon.

Video and Music Players:
You can easily insert a YouTube, Vimeo, or Spotify player into your post by simply pasting its URL into the editor. Within a few seconds, WordPress will generate a player within the post.
Step 6: Adding a Featured Image to Your WordPress Post
Once you have completed the post content, you will need to assign a ‘Featured Image‘. This will be the image that displays in the news archive of the website.
- Add Featured Image: Click the ‘Featured Image‘ button on the right-hand side of the page and select or upload the image you would like to use.
- Featured Image Size: We always suggest using an image of at least 1920 pixels wide and no larger than 150KB.

Step 7: Optimising Your WordPress Post for SEO
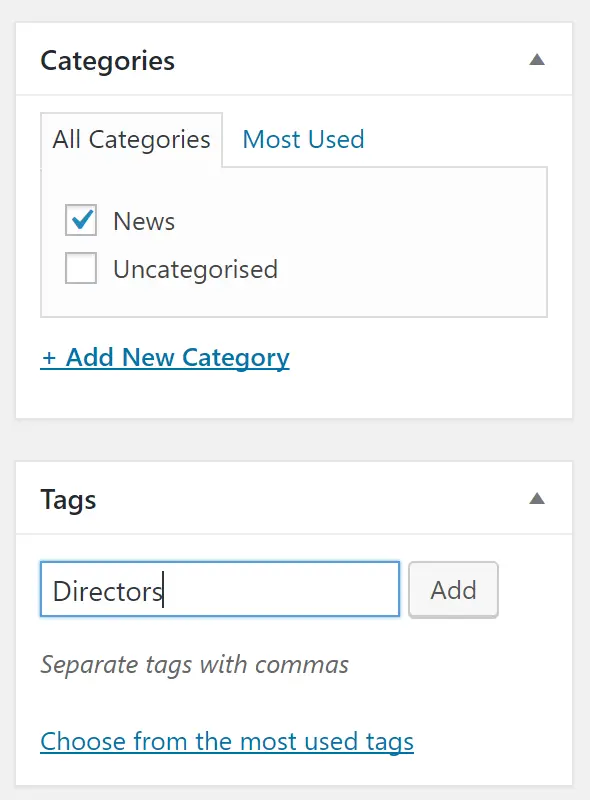
- Add Tags and Categories: On the right-hand side of the post editor, you’ll find options to add categories and tags to your post. These help organise your content and improve SEO.
- Categories: Assign your post to one or more categories.
- Tags: Add relevant tags that describe the content of your post.
- Write a Meta Description: If you have an SEO plugin like Yoast SEO or Rank Math SEO, you can add a meta description. This is a brief summary of your post that appears in search engine results. Make sure to include your primary keywords.
Step 8: Publishing Your WordPress Post
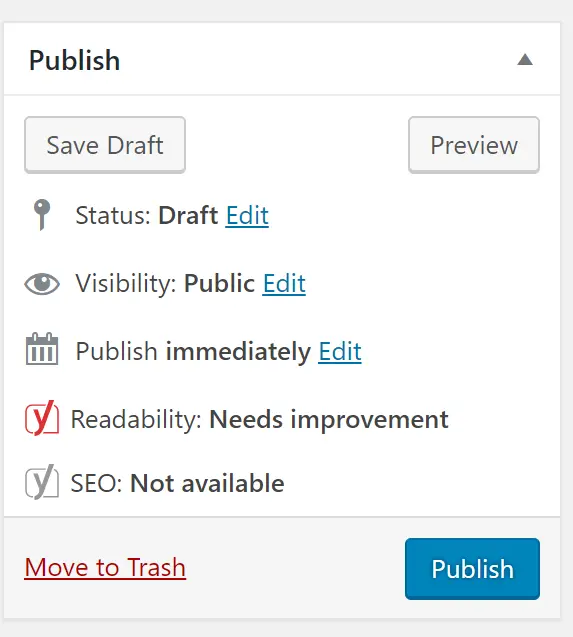
- Preview Your Post: Click the ‘Preview’ button at the top right to see how your post will look once published.
- Save Draft: If you’re not ready to publish, click ‘Save Draft’ to save your progress.
- Publish: When you’re ready, click the ‘Publish’ button. You can also schedule your post to go live at a later date by clicking ‘Immediately’ next to ‘Publish’ and setting your preferred date and time.
Conclusion
Uploading a new blog post in WordPress is a simple process once you’re familiar with the steps. Regularly posting high-quality content is crucial for maintaining an engaging website and improving your SEO rankings. Follow this guide each time you upload a new post to ensure a smooth and efficient process.
For more tips and guides on managing your WordPress site, stay tuned to our blog or contact us for personalised support.